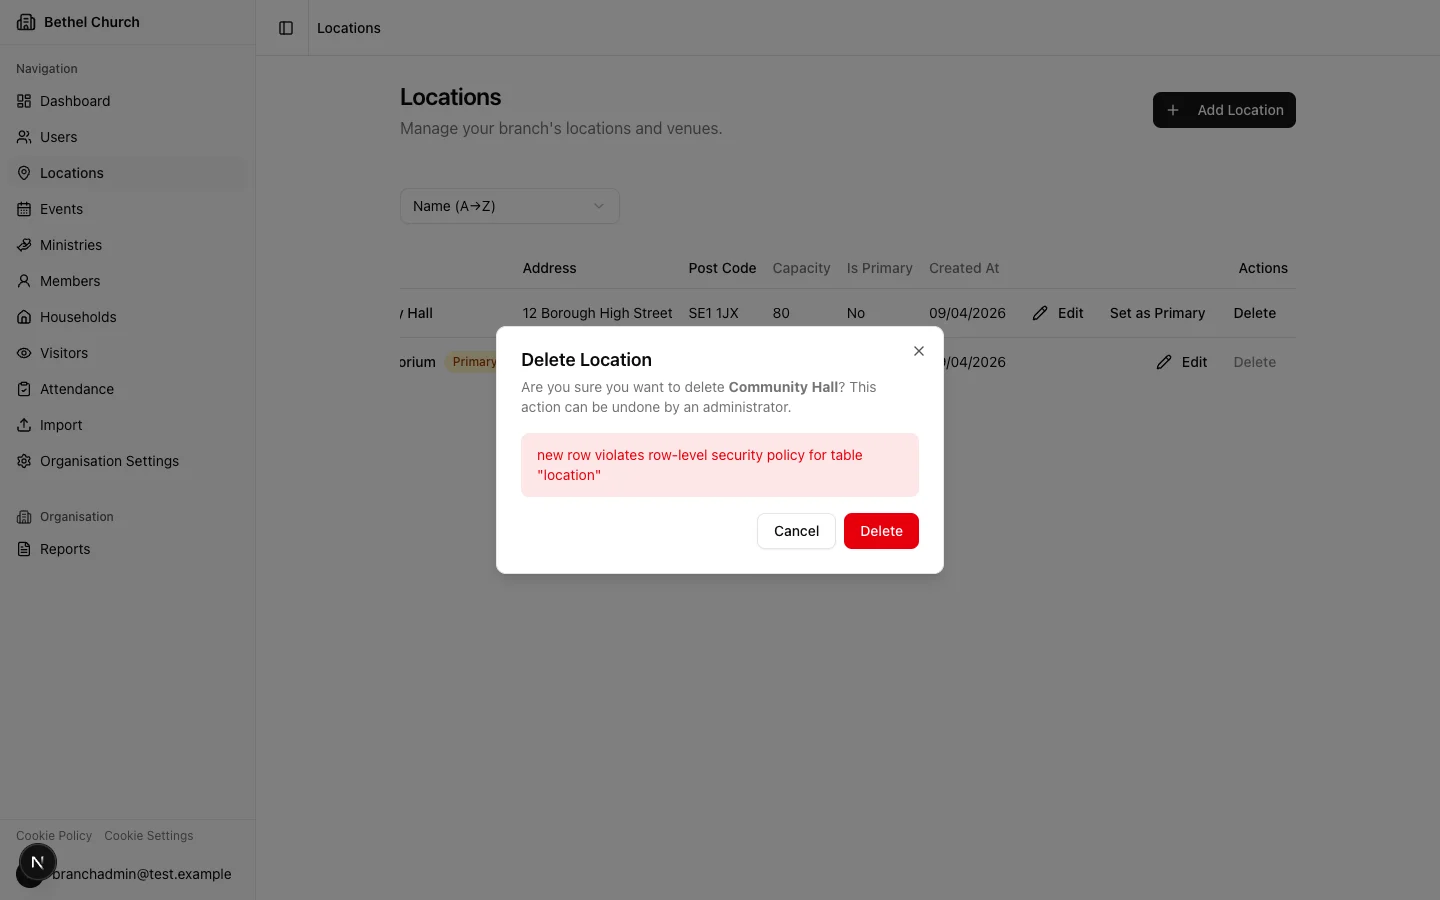
Who can do this: Org Owner, Org Admin, Branch Admin, and Editor can create and edit events and locations. Org Owner, Org Admin, and Branch Admin can delete. Editors cannot delete.
Events
Creating a one-off event
A one-off event is a single scheduled activity with exactly one occurrence, such as a guest speaker visit or a special community outreach day.1
Open the events list
In the sidebar, click Events to open the events list for your branch.
2
Click Add Event
Click the Add Event button to open the new event dialog.
3
Fill in the event details
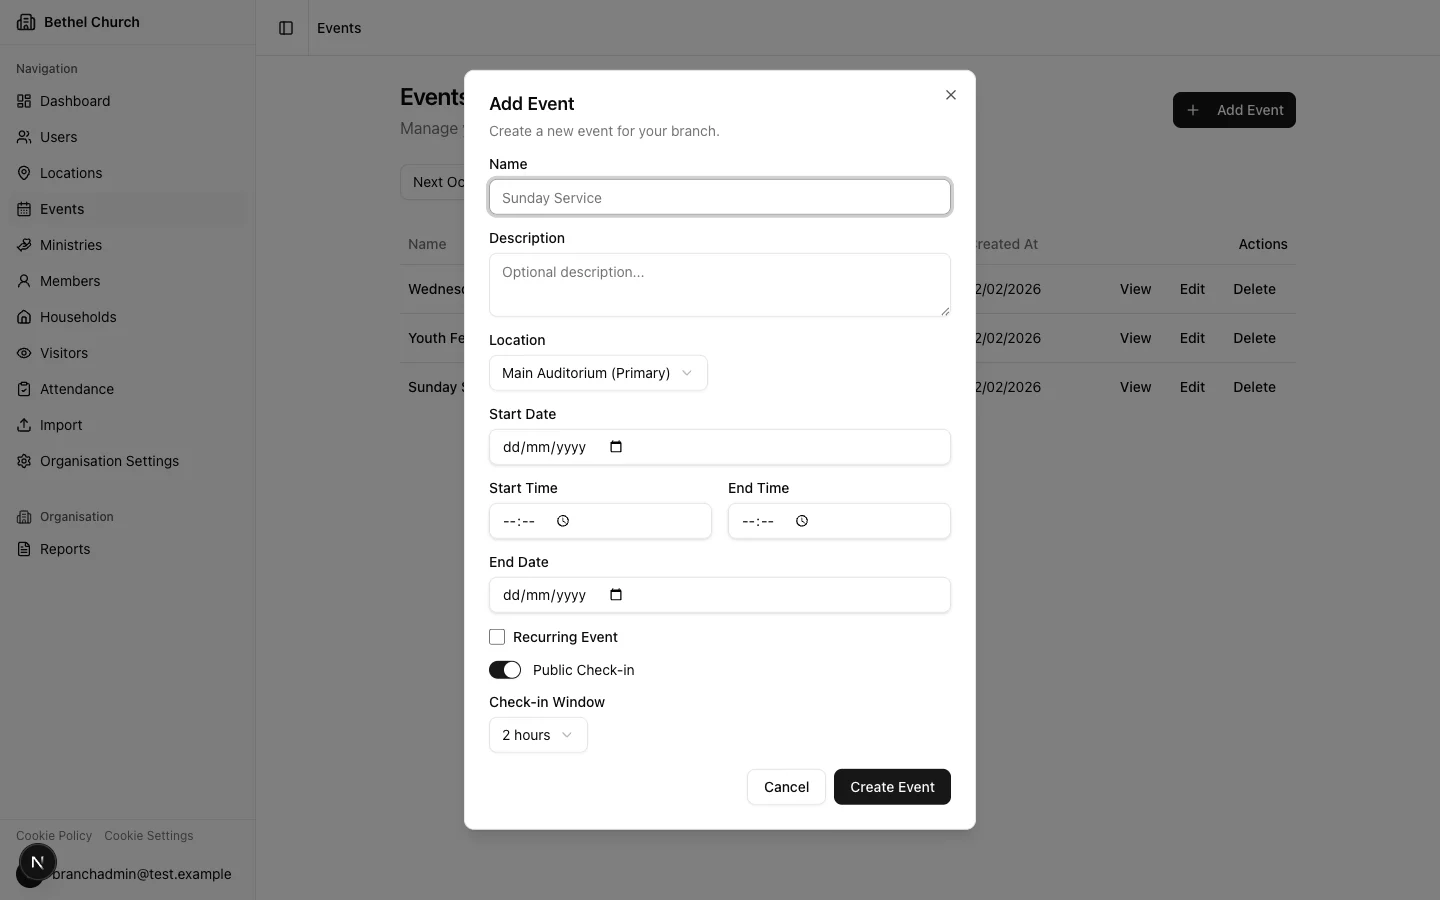
Enter the required fields: Name, Location (defaults to your branch’s primary location), Start Date, Start Time, and End Time. You can also add an optional Description, End Date, and group link.
4
Choose check-in settings
Leave Public Check-in turned on if people should check in through the event QR code. Choose a Check-in Window from 30 minutes to 8 hours.
5
Save the event
Click Create Event. Bethel ChMS creates the event with a single occurrence automatically.
Creating a recurring event
Recurring events are for activities that repeat on a regular schedule, such as weekly services or monthly prayer meetings.1
Open the events list
In the sidebar, click Events to open the events list for your branch.
2
Click Add Event
Click the Add Event button to open the new event dialog.
3
Fill in the event details
Enter the required fields: Name, Location, Start Date, Start Time, and End Time. Add an optional Description if needed.
4
Enable recurrence
Tick Recurring Event. Choose a Recurrence Pattern: Daily, Weekly, Bi-Weekly, or Monthly. Set the Recurrence End Date.
5
Choose check-in settings
Leave Public Check-in turned on if people should check in through the event QR code. Choose a Check-in Window from 30 minutes to 8 hours.
6
Save the event
Click Create Event. Bethel ChMS generates occurrences based on your chosen pattern.
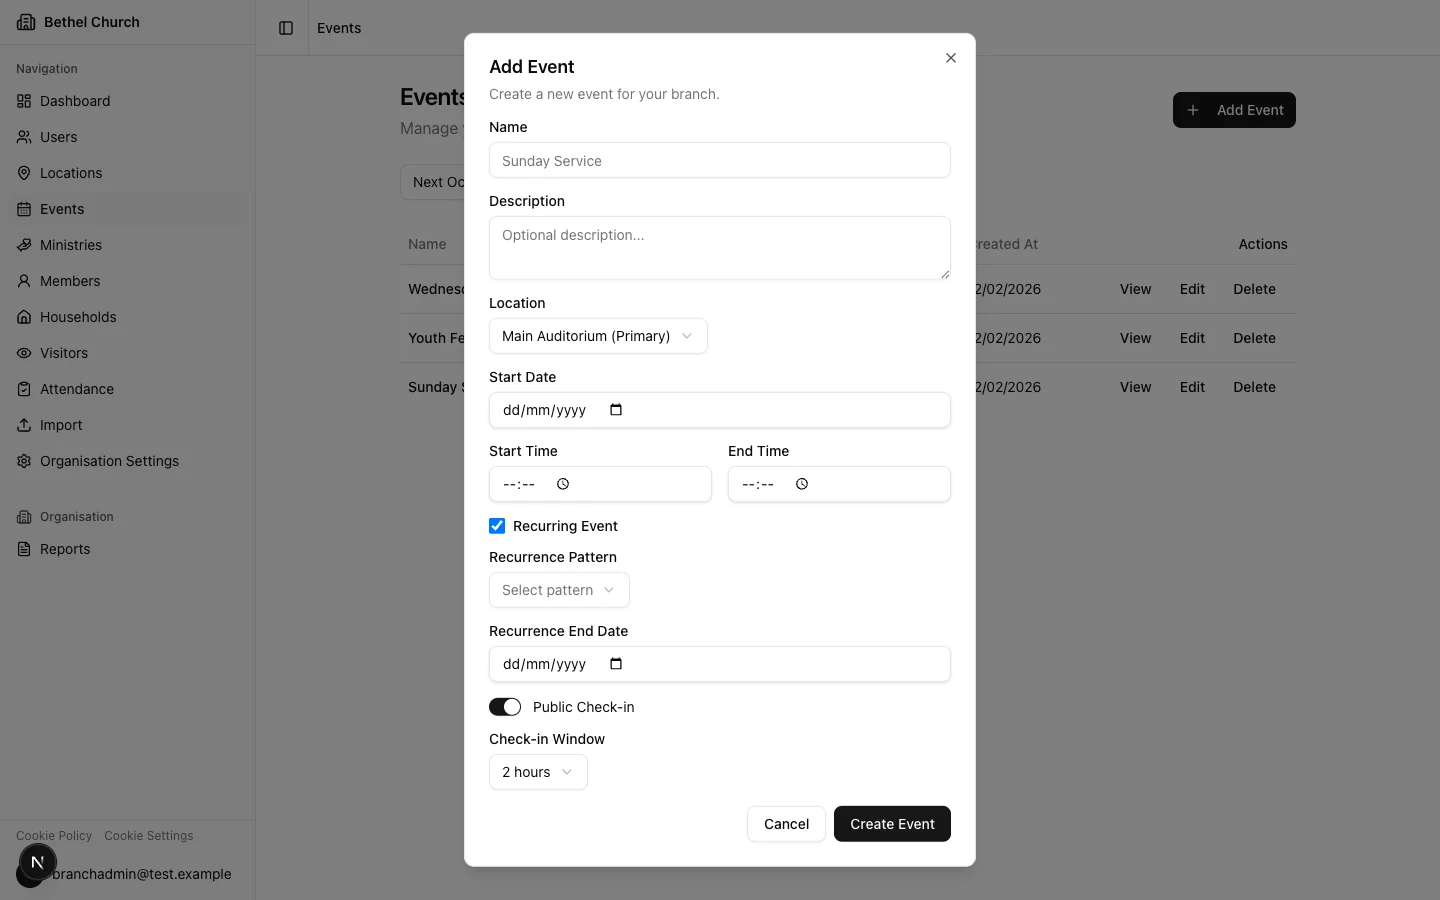
Bethel ChMS generates up to 52 occurrences when it creates or regenerates a recurring event.
Filtering and sorting events
Use the event list to sort events by Name, Start Date, Location, or Created At. You can also filter by scope:- All events shows every event for the selected branch.
- Branch-wide only shows events that are not linked to a group.
- Group only shows events linked to a group. The label uses your branch’s configured group type name.
Understanding occurrences
Every event in Bethel ChMS has one or more occurrences. A one-off event has exactly one occurrence, while a recurring event has many. Each occurrence has its own date, time, location, and status. Attendance is always recorded against a specific occurrence, not the event itself. This means you can track who attended each individual service or meeting, even when it’s part of a recurring series.Editing a recurring event
When you edit a recurring event, Bethel ChMS asks whether to Yes, apply to future or No, this event only. Use Yes, apply to future when the change should update future occurrences in the series. If you choose No, this event only, Bethel ChMS updates the event record but does not change any existing occurrence rows. Existing occurrence dates, times, statuses, cancellations, reschedules, and location overrides remain unchanged.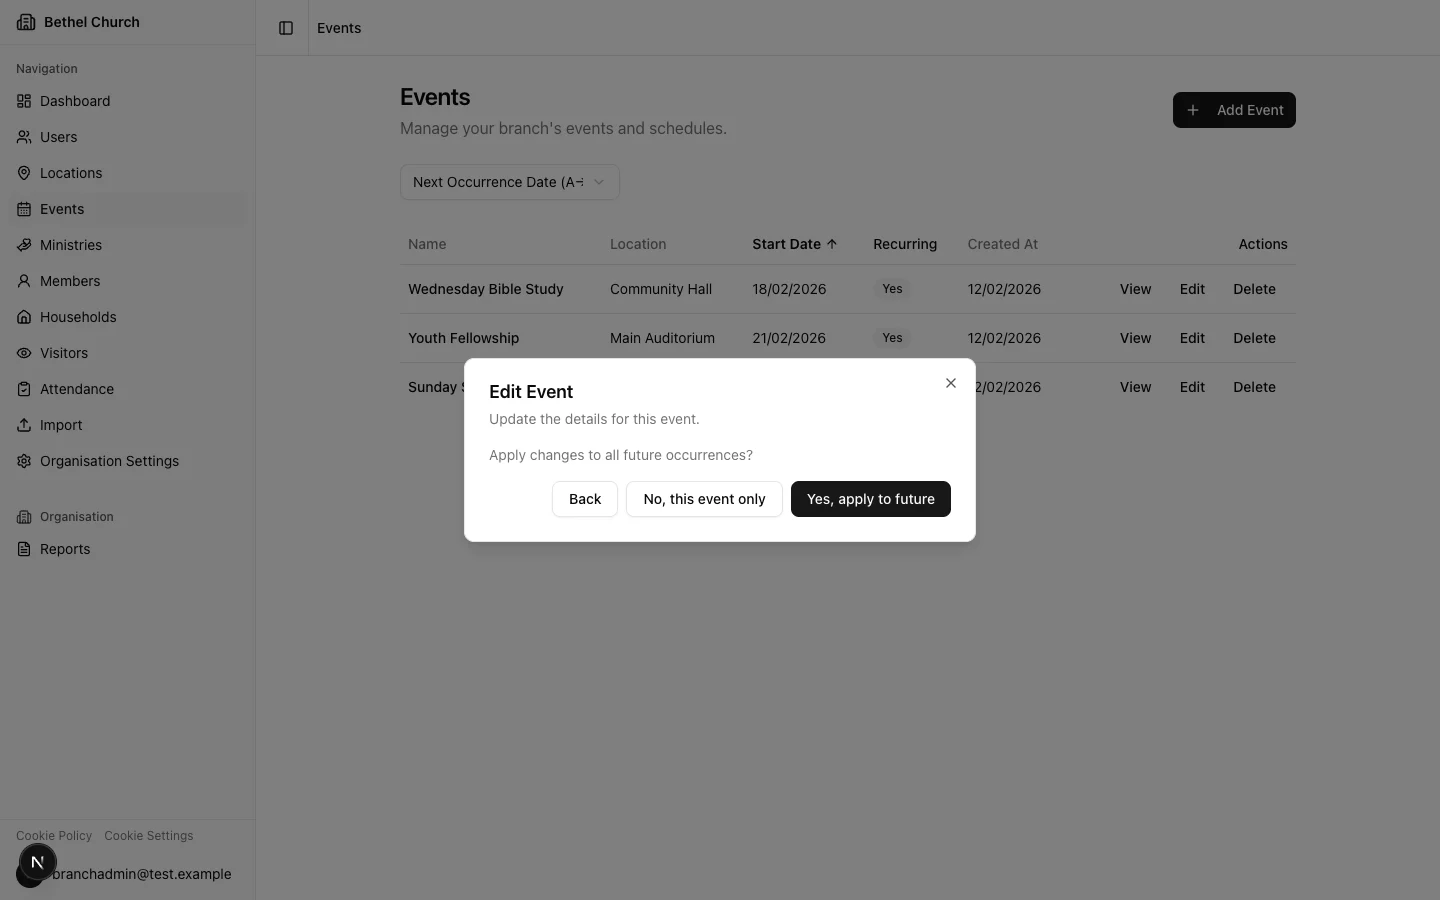
Managing a single occurrence
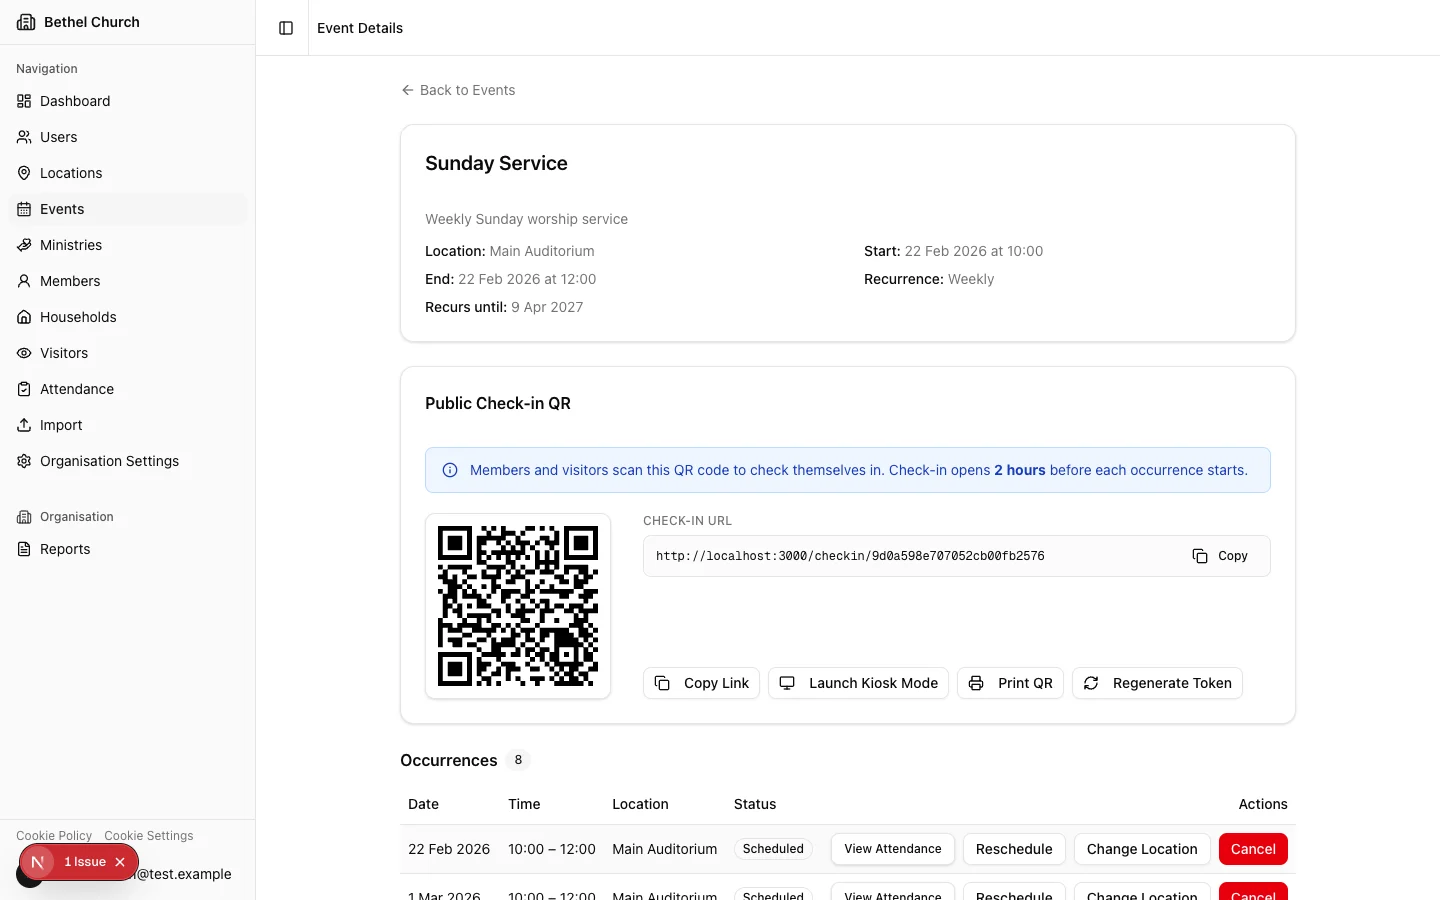
You can manage individual occurrences without affecting the rest of the series. Open the occurrence from the event detail page to see the following actions:- Reschedule: Change the date or time of the occurrence. The occurrence is marked as Rescheduled so your team can see it was moved.
- Change location: Override the default location for this occurrence. Choose Same as event to revert back to the event’s default location.
- Cancel: Mark the occurrence as Cancelled. Once cancelled, attendance recording and other actions are disabled for that occurrence.
- View Attendance: Open the attendance page for that occurrence.
Deleting an event
Deleting an event removes the event and all of its occurrences from view. Any attendance records that were previously recorded against the event’s occurrences are preserved and remain accessible in attendance reports.Public check-in
Each event has a Public Check-in QR section on the event detail page when public check-in is enabled. Use it to display or print the event QR code for attendees. To learn more about attendance options, see Record attendance.Change history
The event detail page includes a Change History tab. Use it to review changes to event details such as Name, Description, Location, date and time fields, recurrence settings, and group assignment.Locations
What is a location?
A location is a physical venue where your branch holds events, such as a main auditorium, a community hall, or an outdoor space. Every branch has a primary location that is created during initial setup.Creating a location
1
Open the locations list
In the sidebar, click Locations to open the locations list for your branch.
2
Click Add Location
Click the Add Location button to open the new location dialog.
3
Fill in the location details
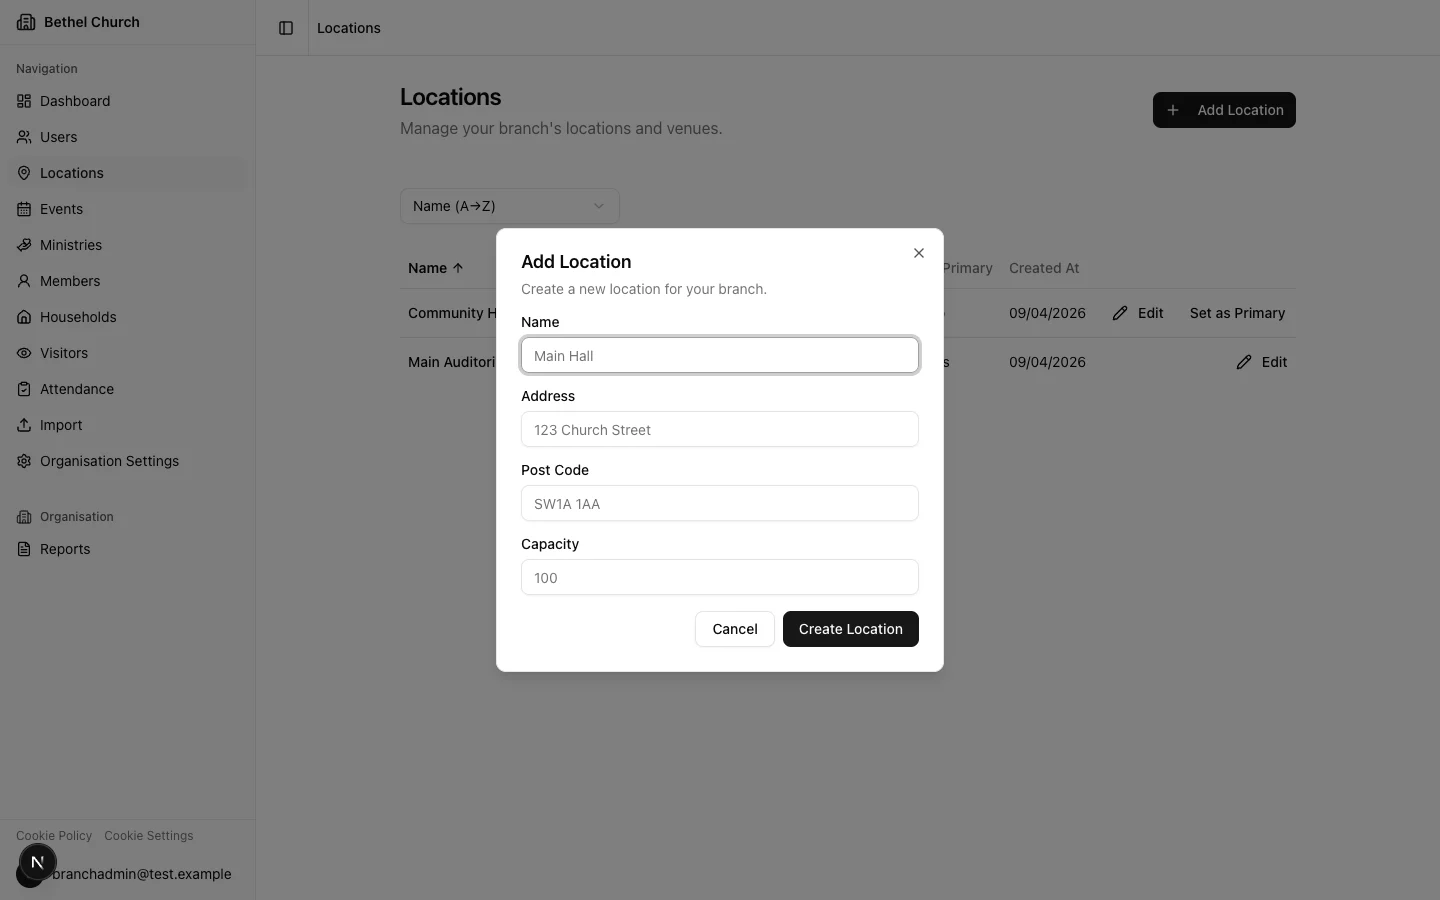
Enter the required field: Name. You can also fill in optional fields: Address, Post Code, and Capacity.
4
Save the location
Click Create Location. The new location is now available when creating or editing events.
The primary location
Each branch has exactly one primary location. When you create a new event, the location defaults to your branch’s primary location. You can change which location is primary by selecting Set Primary on any other location.You cannot delete the primary location. To delete it, first set another location as primary.
Deleting a location
You cannot delete a location that is linked to future events, either directly or through event inheritance. If you attempt to delete a linked location, Bethel ChMS displays a list of the events that are still using it.